
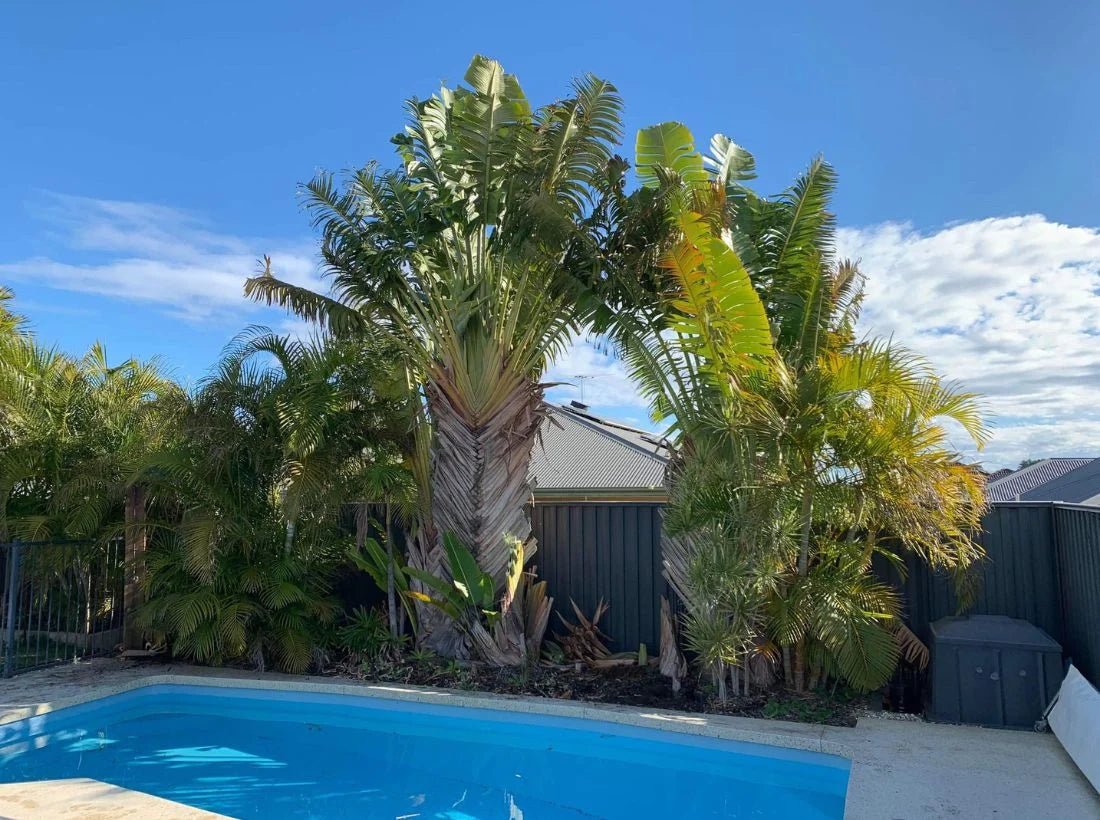
Project snapshot:
-
Location: Madeley, Western Australia
-
Application: Poolside boundary fence
-
Fence type: ColorBond (corrugated steel) with timber battens
-
Product: Green Tropics artificial green wall panels
A bare steel fence does its job, but it rarely adds anything to a garden. And beside a pool, it can look especially stark. Artificial green wall panels change that quickly, and you can cover a long fence in an afternoon with basic tools.

The challenge is that most metal fences are shared. Screw a panel straight through the sheet, and the fixing pokes out into your neighbor’s yard. We avoid this with timber battens, a method we used on a ColorBond pool fence project in Australia and other installs on corrugated steel fences:
-
How to Transform a Metal Fence Into a Luxury Artificial Green Wall
-
How a Client Achieved a Successful DIY Faux Green Wall Project In His Yard
-
How a Client Increased Their Privacy With an Artificial Vertical Garden
Here, we’ll cover why battens work, what you need, how to install the panels step by step, and the mistakes we see most often.
Why Timber Battens Work on a Shared Steel Fence
Steel fence sheets are thin. A screw or staple that goes through one will come out the other side, and on a boundary that means your neighbor’s side. Battens fix this by giving the panels a solid timber surface to fix into, so every fastener stays on your side of the fence.

Battens also help in two other ways:
-
They flatten out a ribbed surface. Since corrugated steel is uneven, battens give you a straight, evenly spaced frame to hang the panels on.
-
They make fixing easier. Staples and screws bite into timber far better than into thin metal.
Direct fixing is still an option where you own the entire fence. In that case, screw and washer the panels straight to the metal, spaced every 10". On a shared boundary, we always go with battens or another type of frame.

If you’d rather avoid fixing into the fence at all, our guide to installing artificial green walls without damaging the fence covers other alternatives.
What you need before you start
We recommend you gather these before the first batten goes up:
-
Outdoor-rated, treated pine battens
-
Green wall panels, with a little extra for cutting and waste
-
Staples (for sheltered fences) or screws with washers (for exposed or windy sites)
-
A level, tape measure, drill and staple gun
-
Scissors or snips for trimming the final panels
Use only UV-rated outdoor panels on a fence because panels without proper UV protection fade and go brittle in strong sun, and a fence gets plenty of it.
For this install, we used our Green Tropics panel, a commercial-grade, UV-resistant 40" x 40" (11 sq ft) panel with layered tropical foliage. Because it’s dense, it also works well for privacy and sound reduction, blocking direct views from neighbors and adjacent properties.
How many panels do you need?
Multiply the fence length by its height to get the area, then divide by the panel’s coverage. A 20 ft × 6 ft fence is 120 sq ft, which takes 11 panels at 11 sq ft each.
In any case, we always recommend ordering a little extra. You’ll lose some material trimming the last panels, and a spare is handy if you need to adjust a section.
If you’re not sure which foliage suits your space, we send artificial green wall samples so you can check color and density against your fence before committing.
You can also check out our panel calculator to do the math for you before you order.
Step-by-Step: How to Install Green Wall Panels on a Metal Fence With Battens
We follow the same five steps on every metal fence install.
1. Space the battens every 20”
Fix treated timber battens along the fence at even intervals. This spacing gives the panels full support without wasting timber. Mark your spacing before you fix anything, and check the battens are straight and level as you go.

2. Join the top and bottom panels together
Connect the panels first so the foliage lines up as one continuous sheet. If you hang them one at a time and join afterward, the foliage direction can drift, and the seams may show. Joining before or as you mount keeps the join tight and the pattern consistent.
3. Fix the top edge to the battens first
Fasten the top of each panel into the battens before anything else. Screw or staple into the timber only, never straight through the shared steel face. With the top secure, the panel hangs under control while you fasten the rest.
4. Keep joining and fixing along the run
Clip each new panel to the last, then staple or screw it into the battens. Work along the fence in a steady line, starting from one end. Check the panels sit flush with no gaps at the sides or bottom.

5. Cut the last panel to fit
The final section rarely matches the panel size exactly. Trim it along the mesh with scissors or snips until it sits flush with the end of the run.
4 Tips for a Long-Lasting Green Wall Fence Install
These are the details we’ve learned from 20+ years of fence installs that make the difference between a good result and a great one.
-
Match fixings to exposure. Staples are quick on timber, but screws with washers hold better on high-wind or exposed sites.
-
Only use UV-rated panels. This applies to every outdoor fence install, but especially in southern, high-sun, or coastal areas.
-
Fluff the foliage afterwards. Ruffling the leaves hides joins and any staple heads.
-
Use UV spray. Top up your faux green wall’s UV protection with a specialized UV spray that provides one more layer of resistance. You can also use this spray for outdoor furniture.
Where else can you use this method?
The batten approach isn’t limited to pool fences. We use it for side-of-house boundaries, garden screens and courtyard walls, anywhere a metal fence needs greenery without drilling through to the other side. You can browse our full range of artificial green wall panels to find a foliage style for your space.
Common Mistakes to Avoid When Installing Panels on Metal Fences
Most installs go wrong in the same few places:
-
Fixing straight through shared steel. It’s the fastest way to upset a neighbor and the easiest mistake to avoid.
-
Skipping the level on the first row. Every row after it follows the first one.
-
Using untreated timber. Battens that rot leave the panels without support.
-
Buying non-UV panels to save money. They fade fast and cost more to replace.
-
Stapling in an exposed spot. In strong wind, screws with washers hold better than staples.
Finishing Thoughts
Battens are the simplest way to dress a shared steel fence in faux greenery without putting a single fixing through to your neighbor’s side. When done right, the result is a straight, dense wall that looks almost planted.
If you’d like help working out panel quantities or choosing foliage for your fence, book a free consultation or get a quote from our team. Our specialists will give you personalized recommendations for your project before you order.
And if you’re nearby our warehouse showrooms in Medley, FL, and Tamecula, CA, book an appointment to see the panels in real life before you decide.
FAQs
-
Can I install green wall panels on a ColorBond or metal fence?
-
Yes. We fix timber battens to the fence first, then attach the panels to the battens so no fixings pass through to the other side.
-
Do I use staples or screws to attach artificial green wall panels to a metal fence?
-
Staples are fast and fine on timber in sheltered spots. We use screws with washers on windy or exposed fences.
-
Do I need to cut the panels when installing them on my fence?
-
It depends on whether you’re creating any specific shapes, trimming around features or openings on the fence, and the like. On the last panel in a run, if you notice you’ve got extra foliage hanging, you can trim along the grid with scissors.
-
Are all green wall panels safe for outdoor fences?
-
No. Use only UV-rated outdoor panels. Anything else will fade and degrade in the sun.