If you've decided to install your artificial green wall or hedge panel by yourself, you deserve a round of applause!
Deciding to undergo a new DIY project is commendable, especially if you haven’t done anything similar before.
If this is your first time installing faux green walls, go over our comprehensive guide on the topic to see whether we’ve already covered the installation process for the surface you’re working with.
After getting a few inquiries about stucco (or plaster) walls specifically, we thought it wise to write a separate handy little guide for you.
Let’s get started.
What Is a Stucco Wall?
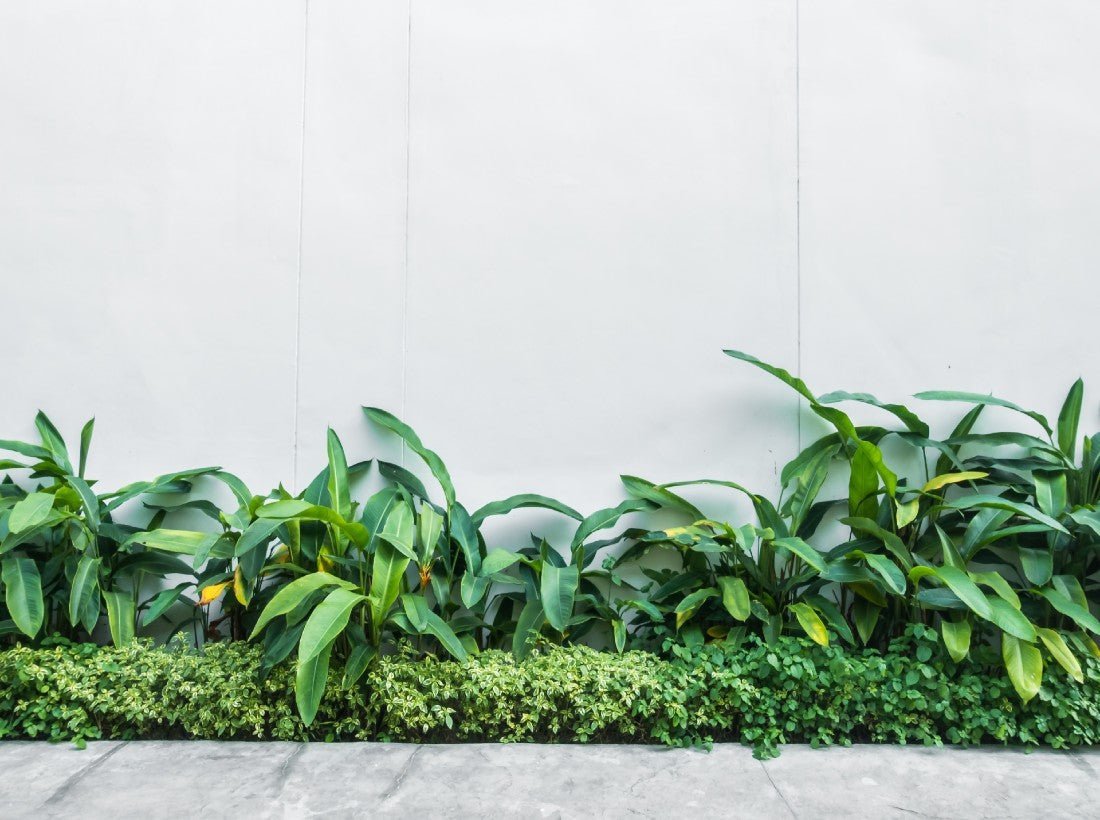
A stucco wall (also known as plaster) is an exterior or interior wall made by applying a mixture of cement, sand, lime, and water to a solid surface such as brick or concrete.

When applied in multiple layers and allowed to dry and harden, this mixture creates a durable and textured surface you can paint or leave as is.
Stucco walls are popular among Americans because they’re versatile and lend well to shaping and texturing to achieve different aesthetics, from smooth and sleek to rough and rustic.
Stucco is also rot and fungus-resistant, making it perfect for regions with wet or unpredictable weather (like Florida!).
How to Install Faux Green Walls or Hedges Onto a Stucco Wall?
Installing artificial vertical gardens to a stucco or plaster wall isn’t much different from other similar surfaces like timber, MDF, or plastic. The installation process for a stucco wall requires a tape measure and either a staple gun or a drill with screws.
When the delivery service drops off your Designer Plants premium artificial green walls at your front door, you’ll notice they’re snug and flat in the box. But don’t worry - this won’t break or bend the leaves. On the contrary, we do this to ensure the faux green wall panels are not damaged during delivery.
To start, take the panels out of the box and lay them out on a flat surface. Measure the panels and mark where on the wall you want to hang them. Don’t rush this step - measure diligently to ensure all the panels fit the wall. By doing so, you’ll avoid gaps or excess fauxliege.
Then, start from the top corner of your stucco wall, position the first faux green wall panel (minding the arrows on the back), and secure it in place with the staple gun. When working with staples, ensure you get it through the grid and into the wall. Next, staple the panel in another spot to secure it, and then add a few more staples throughout.
If you’re using a drill, mark where on the wall you’ll drill, screw in the screws, and hang the panels. Add screws every 10 to 15 inches to secure the panel.
Once the first panel is in place, grab another one and connect it to the first by clipping it using the plugs in the back. The interlocking system on our grid makes sure there’s dense, equal coverage for the entire length of the wall.
Repeat these steps for the other vertical garden panels until you’ve covered the entire stucco wall.
Finally, fluff the fauxliege enough so that it completely covers the grid on the back. Step back and marvel at your DIY project.
To avoid any confusion, here’s a condensed, step-by-step process:
Step 1: Get your faux living wall panel and the staple gun or drills and screws.
Step 2: Decide where on the wall to staple or drill.
Step 3: Hold the panel against the stucco wall and mind the arrows.
Step 4: Start at the top corner of the wall.
Step 5: Affix the first panel to the top corner and secure it in place (with staples or screws).
Step 6: Add screws or staples every 10 to 15 inches.
Step 7: Clip the next panels to the previous one.
Step 8: Repeat the process until you’ve covered the entire wall.
Finishing Thoughts
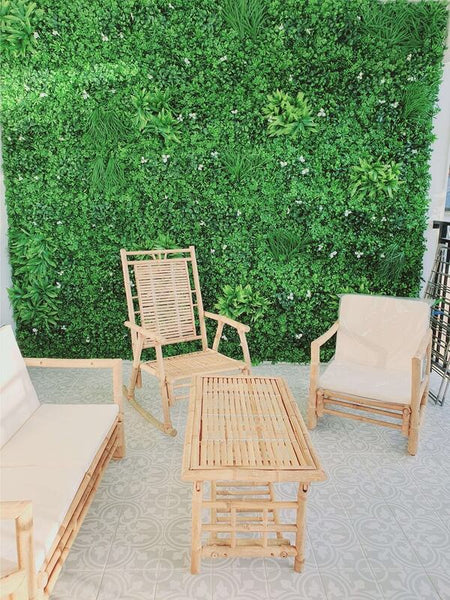
And that’s all there is - you’ve successfully installed an artificial vertical garden onto your stucco wall!
Attaching faux green walls is easy to do on any surface, from wood to concrete. This is also the reason why we encourage our buyers to try to do the installation themselves.
By doing so, you’ll feel more connected to the space, pick up a new skill, and fill your free time with productive activities.
Need help picking the best artificial plant for your space? Take this short quiz.